How to Fix Galaxy Tab S9 Won't Charge
This guide is a practical, ordered fix for Won't Charge on Galaxy Tab S9 running Android. Start with the least destructive checks, then software repairs, and only then a backup-and-reset. Each numbered step includes a simple diagram so you can match what you see on screen. Samsung’s Protect battery / Adaptive charging on Galaxy Tab S9 can cap charge around 80–85%. Check Battery settings before assuming the charger failed.
Who this guide is for
- Primary device: Galaxy Tab S9
- Software family: Android
- Brand: Samsung
Editor notes before you start
- This guide is written for Galaxy Tab S9 on Android. Sister Samsung models are often similar, but menu labels can move after an update — use Settings search when a path differs.
- For “won’t charge” on Galaxy Tab S9, prove the cable and wall brick first. Software resets rarely fix a port packed with lint or a cable that only works at one angle.
- We keep these guides intentionally focused: fewer pages, clearer steps, and honest stop-points before unsafe hardware work.
What you will need
- 10–15 minutes without rushing
- Your device passcode / password
- A known-good wall charger and cable rated for this device
- A second wall socket to rule out a dead outlet
Before you start
- Save any open work on Galaxy Tab S9 if the device is still responsive.
- If you have not backed up recently, start a quick cloud backup before deeper resets.
- Work through the steps in order; skip ahead only if a step clearly does not apply.
Symptoms
- Battery percentage stays the same or falls while plugged in.
- Charging only works at certain cable angles, or the port feels warm/gritty.
- You may see “Accessory not supported”, “Liquid Detected”, or no charging indicator at all.
Common causes
- Lint in USB‑C port or damaged cable
- Adaptive charging / protect battery features capping charge
- Fast-charge negotiation failing with third-party bricks
- Bent USB‑C tip or worn port contacts
- Phone too hot to accept fast charge
Step-by-step fix
Inspect and clean the charge path
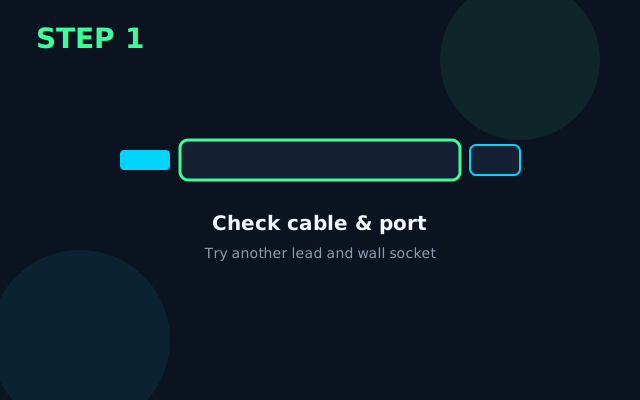
Clean the Galaxy Tab S9 charge port gently. Test a different cable and charger that supports your phone’s fast-charge standard. Rule out damaged USB‑C tips.
Confirm the OS actually sees the charger
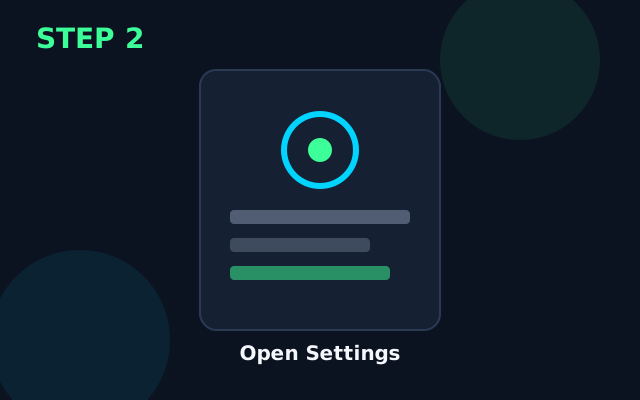
Pull down the status bar and confirm a charging / fast-charging notice. If the phone only charges when held at an angle, treat it as a port/cable fault first.
Disable charge-limiting features for a test
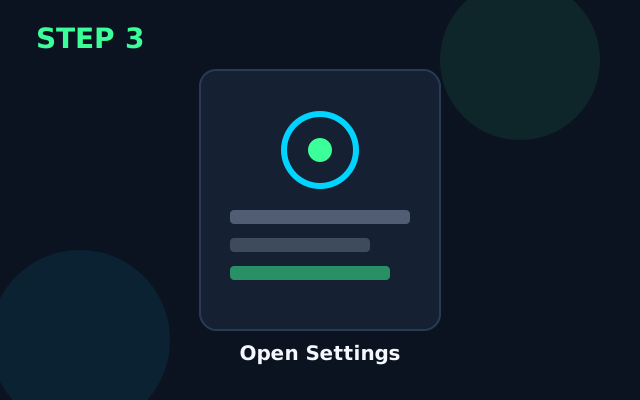
In Battery settings, turn off Protect battery / Adaptive charging briefly and confirm whether Galaxy Tab S9 will charge to 100% on a known-good brick.
Install available updates
Install updates from Settings → System → System update. Stay on power/Wi‑Fi until the process finishes.
Rule out heat throttling
If Galaxy Tab S9 is warm, unplug for 10 minutes, remove any thick case, and retry charging on a hard surface. Many phones slow or pause charge when hot — that is protection, not a dead port.
Deeper isolation before erase
Test in safe/guest mode if available, or with a second user profile. Decide whether the fault is hardware-like (always) or software-like (after updates). Keep a short note of Settings changes so you can undo them.
Last resort: backup then reset
Back up first. Use Settings → System → Reset options only if earlier steps failed. Set up Galaxy Tab S9 cleanly, confirm the fix, then bring data back in stages.
What success looks like
On Galaxy Tab S9, the charging indicator appears within a minute on a known-good charger, and the percentage rises steadily over the next few minutes.
Prevention tips
- Retire frayed cables; intermittent contacts create false “won’t charge” symptoms.
- Avoid soft fabric beds and sofas while charging — trapped heat slows charging and ages the cell.
- Prefer the OEM or a reputable PD charger that matches your phone’s wattage.
- Stop DIY if you smell burning, see liquid damage indicators, or the chassis is swollen.
When to get professional help
Stop and seek a reputable repairer if Galaxy Tab S9 smells of burning, the back glass is lifting (swollen battery), you see liquid damage, or there is still no charge indicator after testing two known-good chargers and cables. Do not puncture a swollen battery.
FAQs
Will fixing Won't Charge on Galaxy Tab S9 delete my data?
Steps before the final factory reset keep your photos and apps. Only a full erase removes personal data — back up first.
How long should the Won't Charge fix take on Galaxy Tab S9?
Most people finish the non-destructive steps in about 20 minutes. Updates and full resets take longer — leave the device on charge.
Why does Galaxy Tab S9 stop charging at 80%?
Battery protection features often hold charge around 80% overnight to reduce wear. Disable them temporarily only as a test, then re-enable if charging otherwise works.
When should I stop DIY on Galaxy Tab S9?
Stop if you see swelling, burning smells, liquid damage, or if a clean reset does not help. Continuing can risk data loss or unsafe battery handling.